Drills are the very fundamentals of tennis; there is no way you’ll be able to learn the tennis game, let alone upgrade skill levels, without learning these skills. I understand this might sound all too difficult and complicated when you are just starting out, but it doesn’t have to be this way. In this article, you will find all the necessary tennis drills for beginners explained in-depth while breaking down each motion.
You’ll be able to practice the drills independently in no time by simply following these instructions. It will also help you feel more comfortable and confident on the court while getting more in tune with your body movements and tennis techniques. All you need is some practice and a desire to improve. Are you ready to start your tennis journey and discover the best tennis drills? Let’s dive in!
#1 Tennis Warm-Up Drill
Warming up muscles is necessary for every sport, and tennis is no exception. This is how you should always start your tennis practice sessions or matches, to make sure that your heart rate is up and blood is flowing in your body.

One of my favorite tennis drills is called “running the lines.” It is really as simple as it sounds; all you have to do is run or jog at the court’s furthest single line to the net to touch the top and then back again. You repeat this process as long as you find it necessary, even if you keep a slow pace. Remember, this is not a race, and you should be patient with yourself, especially during the beginner phase. This is also a great way to memorize the court’s lines’ design and function.
With time, you can add more speed as a way to improve your resistance and footwork. Remember to bend your knees this time, and instead of touching the net’s top, try to touch the bottom. It will be more challenging but also much more rewarding. Regardless of what you are aiming for, never escape this drill because it is necessary for your overall health, helps to reduce soreness, and significantly reduces the risk of possible injuries.
#2 “The Frying Pan” Drill
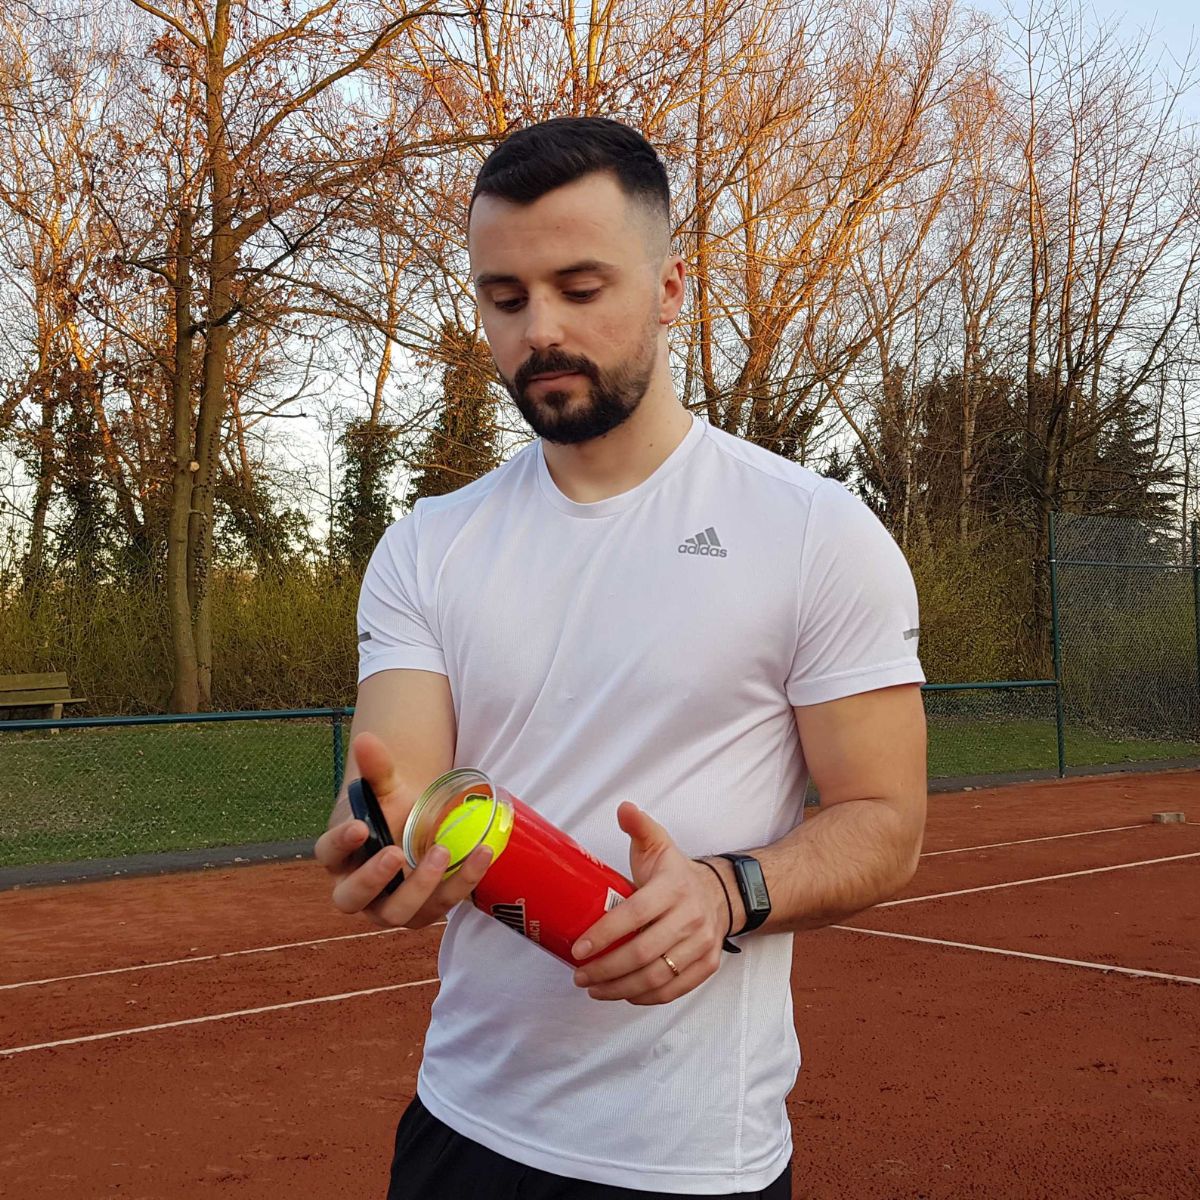
Ignore the funny name because this is as serious as it gets. The so-called “frying pan” drill is essential for fresh beginners with little to zero experience on the court. The first thing that you should practice is hand-eye coordination. Now, this is a skill that comes with experience; that’s why most players take it for granted and, more often than don’t bring much attention to it. However, it is a crucial skill in tennis, which will help you in all the other steps of the way, whether you master beginner’s techniques or compete in advanced championships.
Practicing the “frying pan” drill is extremely easy; anyone can do it. All you need is a regular tennis ball. Start by holding your body straight, chin up high, while keeping the ball in your dominant hand. The next step is to start bouncing the ball up and down. Keep your eyes on the ball, and don’t stop until it eventually falls out of your reach. If it does fall, take the ball and start repeating the process again. And again! And again! Anytime it’s necessary until you have earned this skill.
When it starts getting boring, remember that this drill is easy, but keeping eyes on a moving ball on the court that is flying towards you in full force while you are still moving or switching back positions is hard.
#3 The Dribble Drill
The dribble is quite similar to the frying pan tennis drill, just the upside-down version of it. In this case, all you have to do is position your body in a linear position, like you are standing in a straight line while holding a regular tennis ball in one hand and your racket in your dominant hand.
This time, you should hit the ball against the ground and start bouncing it up and down, trying to maintain pace. You can go as fast or slow as you wish. If you lose the ball, start over, and keep doing so for at least half an hour, or two hours at max. The drill should be consistent, and when you feel like you are getting the hang of it, you can start moving across the court without interrupting the pace. If you want to challenge yourself, start with a slow pace dribble, increase the speed for a few minutes or so, and then slow down again.
Drilling is an important skill that will teach you to maintain balance throughout the game. This is a beginner’s tennis drill, just as much as it is for advanced players, so you better start practicing early on.
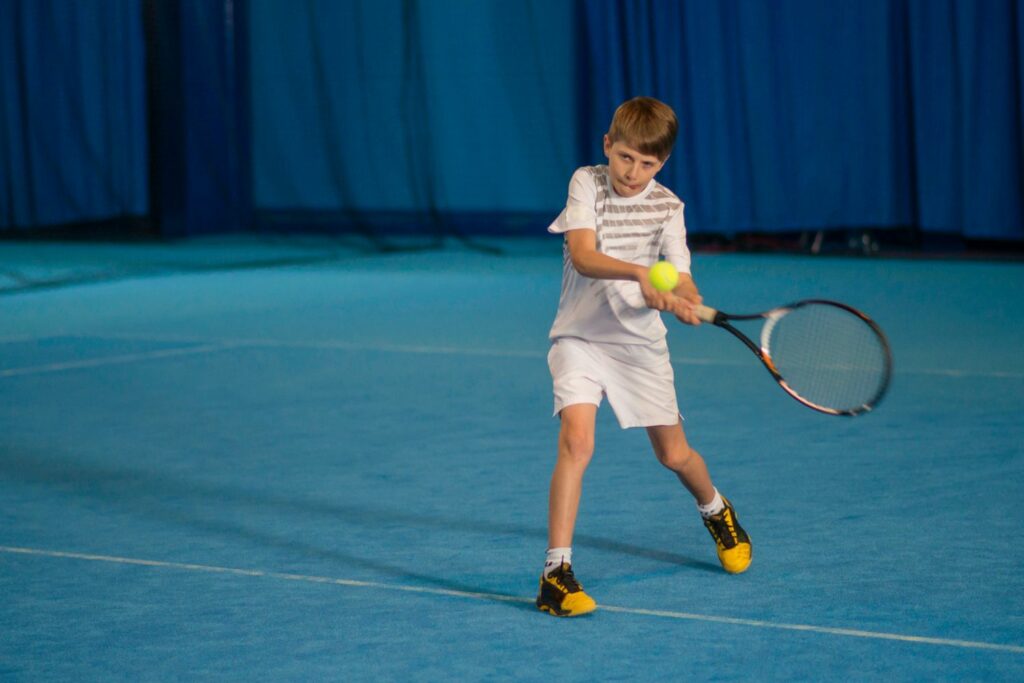
#4 Tennis Backhand Drill
After you have been practicing the first two tennis drills for a while, it’s time to move on to the game’s most important grips and slices. This is how you know you are a tennis player. Exciting, isn’t it? Well, you better be because the backhand drill is arguably the most crucial skill you’ll ever learn in tennis; that’s why you need practice and patience.
To practice this tennis drill for beginners, you’ll need a tennis partner or a coach. The first thing you must do is position yourself at the end of the court, in the middle of the service line. Supposing you already know how to hold a backhand grip, keep your racket at your waist height. For the next step, your partner should toss the ball so that you can follow through with a stroke motion. Repeat this often while trying to keep track of perfomance, grip position, and how you execute the technique.
As a beginner, it’s perfectly okay to stay in a stationary position while practicing the backhand drill. Only when you feel confident enough should you start moving, which will help you to hit the groundstrokes successfully, as you learn to move better on the court, keep pace, and evaluate the spin and speed of the ball properly.
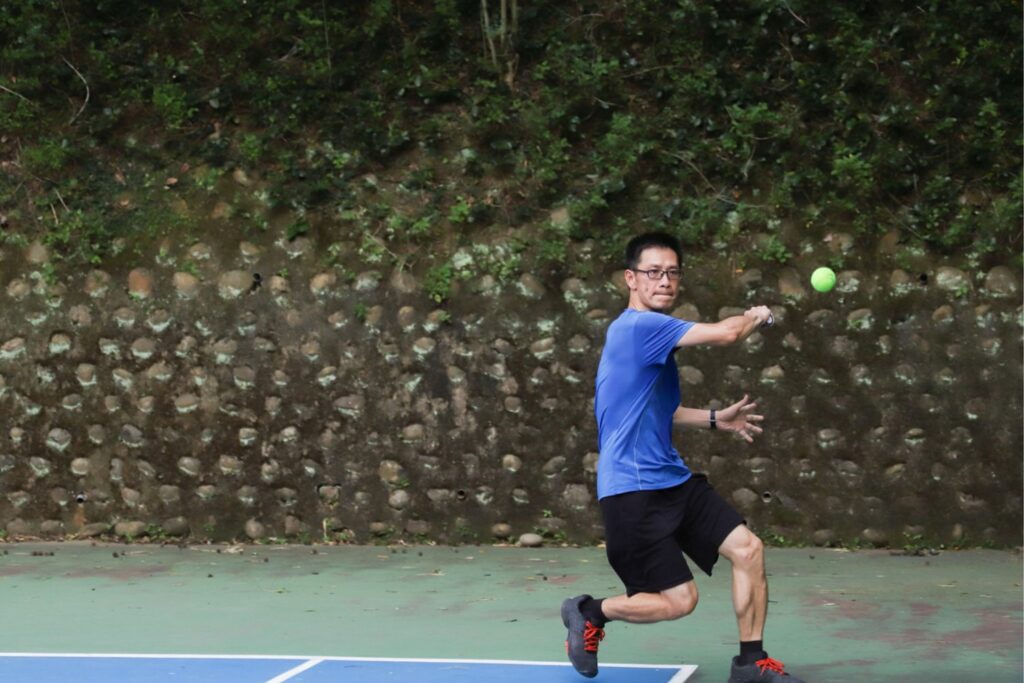
#5 Tennis Forehand Drill
Time to practice tennis forehand drills, as well. It’s pretty much the same process as the backhand practice, with the only difference being in the way you grip the racket’s handle. The first thing you should learn is how to do the forehand grip properly. Hold the same position as you had while practicing the backhand drill, as explained above, with your legs slightly bent, and start practicing the move. Once again, the toss of the ball shouldn’t pass your waist height, especially if you have no previous experience on the court.
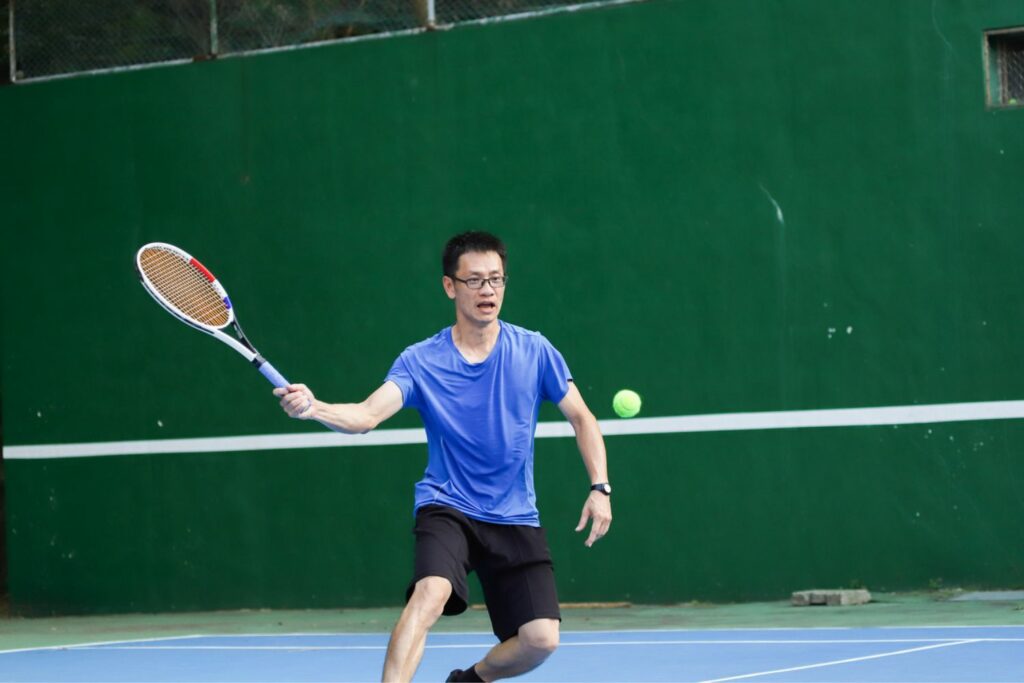
When practicing the forehand drill is important to keep the racket low on the ground by pointing out the court at a roughly 45-degree angle. This is a great opportunity to start learning some footwork, so slight movements to shift weight from side to side are encouraged.
One mistake you should try to avoid during the forehand drill practice is being too late or rushed during swings. It will mess up your slice and practically ruin your hard work. Now, if you have been practicing the first two drills, you’ll be able to perform much better on the court, as you have mastered eye-and-hand coordination, wrist movement, and balance.
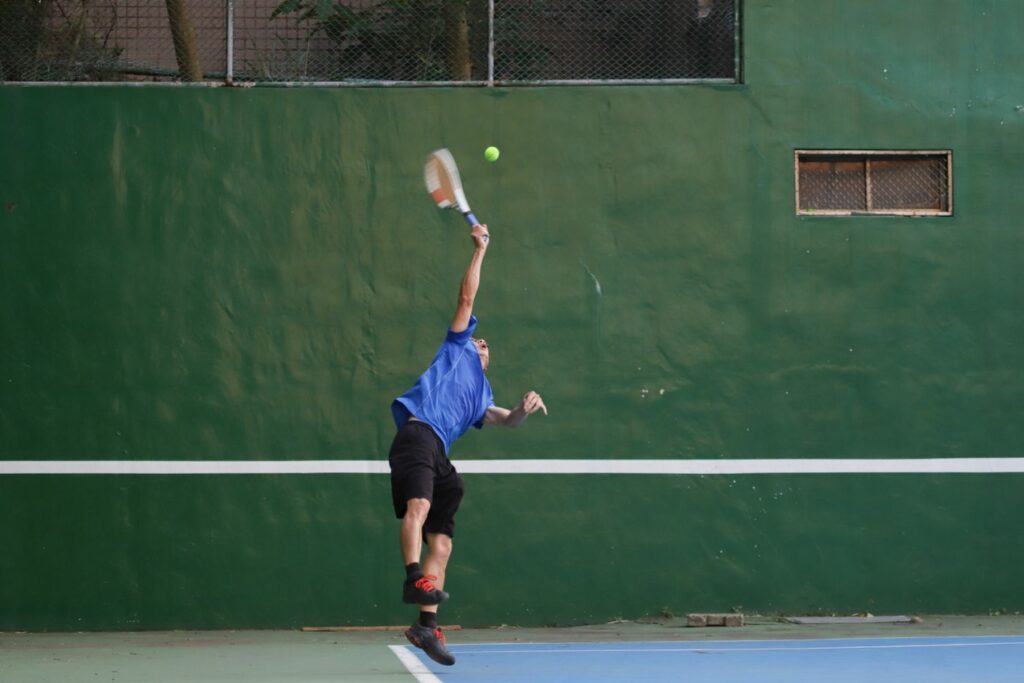
#6 Tennis Serving Drill
Needless to say, tennis serves are one of the most important aspects of tennis. So you better start practicing your serving drills too, or you’ll be missing out.
Start by positioning yourself behind the baseline, aim diagonally towards the service box, and then follow through the motions. When you feel ready, you can move to different spots, so you can learn to shoot from new angles. Even though it’s not necessary, a tennis partner can be really helpful during these drills. The other person should simply let you know where the ball is landing, which will help you be more accurate.
The best way to do master serving drills is by following through and practicing the ball’s toss and aim. The whole thing will be much easier if you have practiced all of the above tennis drills by now. Not only you’ll have better coordination, motions, and slices, but by now, you’ll be able to “read” your opponent’s weakness. Pay close attention, and if you notice that the other player is struggling with the backhand slice, for example, then you should aim to serve with your backhand only. Also, pick one or two targets, and try to hit them with as much precision as possible. It is okay if you miss them at first, just don’t give up trying, because this skill, later on, will help you win many precious points and even collect victories.
#7 Volley Tennis Drills
So you are ready to practice volley tennis drills? Congratulation, it takes a lot of hard work and dedication to reach this far while still being a beginner. This new skill is crucial for the game, so pay attention! In simple words, all you have to do during a volley is to catch a ball in the air, before it can bounce and return to the opponent’s courts. While it sounds easy, the motions it involves are much more complex, and it might take some time before you feel confident enough up in the net.
To make this more understandable, we will break this drill in two phases;
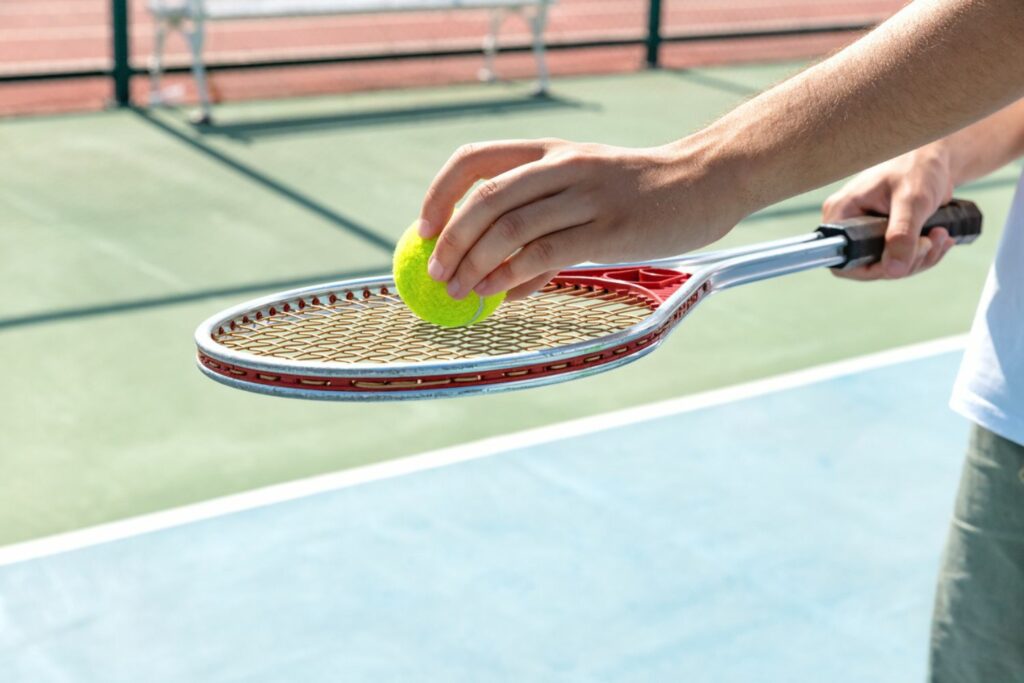
- Toss and block: Start by holding your tennis racket into a continental grip, and position yourself at the service line’s center while maintaining a 3-4 feet distance from the net. Forehand volleys are the easiest to practice as a beginner, but before you toss the ball, make sure you go over the motions. Meanwhile, bend your knees, and keep the racket just above the level of your vision. Next, release your hand and move your body a step forwards while punching the ball with the racket in front of you. Repeat the process several times in forehand and backhand grip to get the hang of this. If you don’t have enough physical strength to hold the racket in any of these grips, use both of your hands. Just try not to swing, keep a good position, and avoid holding your racket so firmly that you risk a wrist injury.
- Split steps: for this drill, it’s important to be familiar with the movements prior to practice. Remain in the same position explained earlier, and start practicing movements with a forehand or backhand volley, whichever it’s more comfortable. Next, move a few steps forwards before making a step split or a small hoop with the knees slightly bent and punch the ball with the racket in front of your body.
#8 Tennis Drills for 10-12-Year-Olds
It’s never too early to learn tennis, so you shouldn’t worry about letting kids as young as 12 or 10 practice the basics. Of course, in this case, I am talking about tennis drills for kids that are safe and easy. You can try a few things to prevent your child from losing interest quickly.
Here are some very simple tennis drills for 10-12 years old players who are fresh beginners.
- Giant tennis ball: this one you can practice anywhere, and you should use an oversize ball. To begin with, you and your child should stand 5-7 feet apart while standing in the opposite direction, in a linear line. Start tossing and catching the ball, letting it bounce beforehand so it will imitate the game.
- Trap the ball: give your child a racket, and stay 5-7 feet away, in the opposite direction. Toss the ball while keeping it low to the ground, and ask your child to try and “trap the ball” on the strings using both hands. For this one, you should use a ball suitable for the children players’ age to keep it safe.
- Target tennis: Make sure your child is positioned near the service line, at one part of the net. Beforehand, you should set up some targets by using cons or hoppers. Instruct the child player to hit groundstroke by using forehand slices before you start tossing the ball. The child should be encouraged to hit the targets. This tennis drill for beginners can be progressively more challenging if players keep going further back on the court.
#9 At Home Tennis Drill
Maybe you don’t have enough time to hit the court regularly; however, that’s not a reason to skip training. By practicing some simple at-home tennis drills, you can master some important basic techniques, even as a fresh beginner. You can also practice tennis solo too, so you don’t have to worry about finding yourself a tennis partner. Here is how you do it;
- Shadow stroking: This is such an easy drill; you can do it in your living room space. All you have to do is practice the swinging motions without an actual ball. If you can, stand before a mirror and start practicing forehand and backhand slices, volleys, and groundstrokes. This way, you’ll start getting more comfortable with the movements, and before you know it, you will have mastered the proper techniques.
- Practice with a wall: It’s simple, it’s fun, and it’s consistent. All you need is a wall with no windows in it and a racket. You can practice forehand and backhand slices, and master your groundstrokes, serves, and volleys. It’s a great way to get some footwork in a while also working on your game style and strategy. You won’t need a partner, not even a court! Even pro tennis stars do it, so you should at least try it.
- Visualize: You probably have never heard of this one, have you? Well, sports visualization is a real thing and a secret weapon to professional athletes of all kinds. Various studies show that repeated vivid imagery can condition the brain to rehearse a skill or a technique successfully. There is a whole science after this phenomenon that explains how the sensor motor skills activate the same body muscle during a visualization that would be activated during a real practice. In simple words, you have to think in pictures because your body doesn’t know the difference between what’s real and what is imagined. Find yourself some time and quiet space, and start visualizing your tennis techniques. Repeat the process often, and if you do it right, you’ll notice the difference in no time. Novak Djokovic does it; why don’t you?
#10 Tennis Footwork Drills
Footwork is such a big part of tennis, but surprisingly goes under the radar, and many players tend to avoid practicing it. You should not make that mistake if you are serious about the game. Not only that, but you should do footwork strength training for tennis too, to get ahead of the competitors. Footwork makes so much profit, which will dramatically improve your resistance and balance, help you move quicker, and run faster.

Here are some basic tennis footwork drills for beginners to practice on the court;
- Mini-tennis footwork: You won’t need a racket for this, only your tennis partner. For this drill, you should throw the ball on the ground and let the other player catch it. The only trick is that the ball should bounce first. Start passing the ball to each other by repeating the process. This will help you get some footwork in a while and also learn to build more focus and coordination with the ball.
- Run and pick the ball: Start by putting four or six balls in each corner of the court while you stand on the side. For this drill, you have to run from the original position, pick a single ball, and turn back at the starting point. Leave the ball, and run to catch the next one until you have collected them all. Your tennis partner or the coach should measure the time it takes for you to complete these drills because it must be done within specific intervals.
- Left-to-right running and vice-versa. Position yourself in the baseline, and start running by changing directions; from left to right and right to left. It should be completed within a time frame. The more time you spend practicing it, the less time you should set up for yourself.
- Ladder run: Start by setting up the ladder, and then run through it by stepping into each of the boxes. Repeat this process several times, and try to make as keep as less contact with the ground as possible.
#11 Tennis Groundstroke Drills
If you have mastered the backhand and forehand slices, it’s time for some other groundstrokes drills. This is a fundamental part of tennis, and the more you practice, the better your performance on the court will be.
In the next training session, try these simple groundstrokes drills;
- Cross-court drills. Position yourself in one serving box and rally down the line. A tennis partner, or coach should be feeding the ball, while you should run cross-court. The aim should be to hit all the targets, try to hit the ball from different angles, and generate spin. Start with your forehand, and then switch to backhand slices.
- Twenty balls deep cross-court. Time to make things a little more challenging, shall we? To practice this drill, you have to keep the same position as above. The person feeding the balls to you should alternate between forehand and backhand, while you should hit 20 balls cross court. If you miss one, you start over.
- Baseline game to eleven. This is a very popular drill that many players swear by. After someone tosses the ball to you, hit a cross-court and play out the point with your tennis partner. You should use both backhand and forehand slices, but no volleys are allowed.
- Use a higher net. Try to set up the net higher than usual so that you can have a visual target. Your goal should be rallying over the net and even close points.
- Points for depth. To practice this tennis drill, you should draw a line between the service line and the baseline. The rules are simple; you win two points if the ball bounces behind the line, one point if the ball land in front of the line but behind the service box, and no points whatsoever if the ball land within the service box.
FAQs
Having learned about the best tennis drills for beginners, you might find yourself with additional questions or some that still remain. Below, we’ve compiled a selection of frequently asked questions pertaining to these beginner’s tennis practice drills. These questions have been gathered and answered to save you the hassle of searching for the information elsewhere.
Q: How do you train a beginner in tennis?
When it comes to training beginners in tennis, there is an important philosophy that all coaches should follow: start from the contact point and work backwards. In other words, forget trying to teach a technical stroke. Instead, focus on how your student can connect with the ball at impact.
Let’s take a look at what I mean by this. When you hit the ball, you are creating a connection between yourself and the court; as such, establishing proper contact habits during practice will drill in good technique for when it matters most – match-play or competition situations.
Specifically speaking to teaching beginners in tennis then: ensure that they know and understand their grip before anything else – having improper technique here will affect how they swing everything else down the line (pun intended!). Once students have mastered their grip and are comfortable with where they’re holding onto the racket during each shot – only then do we transition into stroke mechanics
Q: How can I train for tennis at home?
If you are looking to train for tennis at home, there are several drills and exercises you can do to get better while practicing on your own. A great way to develop your game is by playing against the wall. This drill helps improve stroke accuracy and power development, as well as hand-eye coordination.
Here’s how it works:
Start off by standing a few feet away from the wall – this should be far enough away that when you hit the ball, it will rebound back towards you. Now pick a spot on the wall to focus on and hold your racket in an open stance (meaning either forehand or backhand). Without stepping forward try hitting five balls from one side of the court to that same spot in succession. The key here is trying to keep all five shots consistent and land within a tight margin of error – if they land too close together or far apart from each other then you need more practice!
Once you have accomplished hitting five consecutive shots accurately, move back slightly further from the wall and repeat this exercise with another target point, but make sure not forget about focusing on proper technique throughout each shot so that your muscles can develop correctly over time. You can even increase difficulty once again by picking smaller targets or doing multi-ball drills (where two balls are coming towards one person) but remember not go overboard since proper form is essential!
Q: How do I teach my 7 year old to play tennis?
Teaching a 7 year old to play tennis is an exciting and rewarding experience. The key is to make sure the experience is fun and not too overwhelming. Start by having the child hit the ball while standing in one spot. Focus on mastering basic strokes like backhands, overheads, and forehands. Once your child has mastered these basic strokes, start introducing more movement by having them move just a few steps toward the ball after they hit it using their racket.
From there, progress to getting them to run after each shot. Make sure you explain why this step is important so that your child can understand why learning footwork is necessary for enjoying a game of tennis. Have them practice running short distances towards the ball while still keeping their eye on it as it moves around the court so they become comfortable with how far they will need to move before making contact with their racket.
As your child’s abilities advance, so should their serve technique; have them begin practicing tosses and then work up to full serves as soon as possible in order for them to begin perfecting this essential skill of tennis playing. Despite having ample time, it’s advantageous for beginners to start learning how to serve as early as possible.