Having a personal tennis court inside your property is something that every tennis player dreams of. Imagine how fun and convenient it would be to take a workout session or to organize championship tours with your friend in the comfort of your own home. If you are lucky enough to have the space and opportunity to make this happen, don’t hesitate; we will teach you step-by-step how to build a tennis court.
This is a big project, and there are many important things to take into consideration, such as budget, space, materials, construction, installation, etc. But don’t worry; in this guide, you’ll find everything you need to know for a DIY tennis court, so keep scrolling.
Before Getting Started: Make a Plan
Being well-prepared is the only way you’ll do this project right and avoid any bad surprises, delays, or extra fees down the road. So take your time, and make sure you have a well-thought plan with all the necessary details included.
If you are planning to build a professional tennis court, one that will be used as a business or in public parks, there are certain standards that must be archived. Before you even start to make a plan, check if you are able to fulfill those requirements in the long term.
Before building a tennis court, here is what you should do.
Have a Vision
This is the fun part; you probably have a vision of what your home tennis court wants to look like, but you have to make sure to bring in all the details. As a tennis player, this is the project of a lifetime, so please don’t hesitate to go and take a look at different courts, private or public.
Pay attention to the details, no matter how small; it will be helpful to determine your needs and desires and also spark up new ideas. Make a vision board by collecting your favorite photos from google, Pinterest, or magazines. Knowing what you want will make the whole process easier and avoid later regrets.
Lay the Plan
Now that you know what your tennis court will look like, it’s time to make the dream happen. You’ll start by putting up an actual project plan that involves all the processes down to the tiniest detail. This includes the big steps, like picking up materials and installing the court to choosing what kind of lightning or net you want.
First and foremost, you must make sure that the space you have planned to build a tennis court is good enough to accommodate one. So make sure to check these important details;
- Soil conditions: It is important for the soil to be stable, or else your project will fail, no matter how well-structured the tennis court is. For this step, you need to hire a geotechnical engineer to make some research and analysis on the soil, the organic material, or the groundwater levels. Only if the engineer gives you a confirmation should you carry on with the project; otherwise, you are wasting your money on something that won’t last.
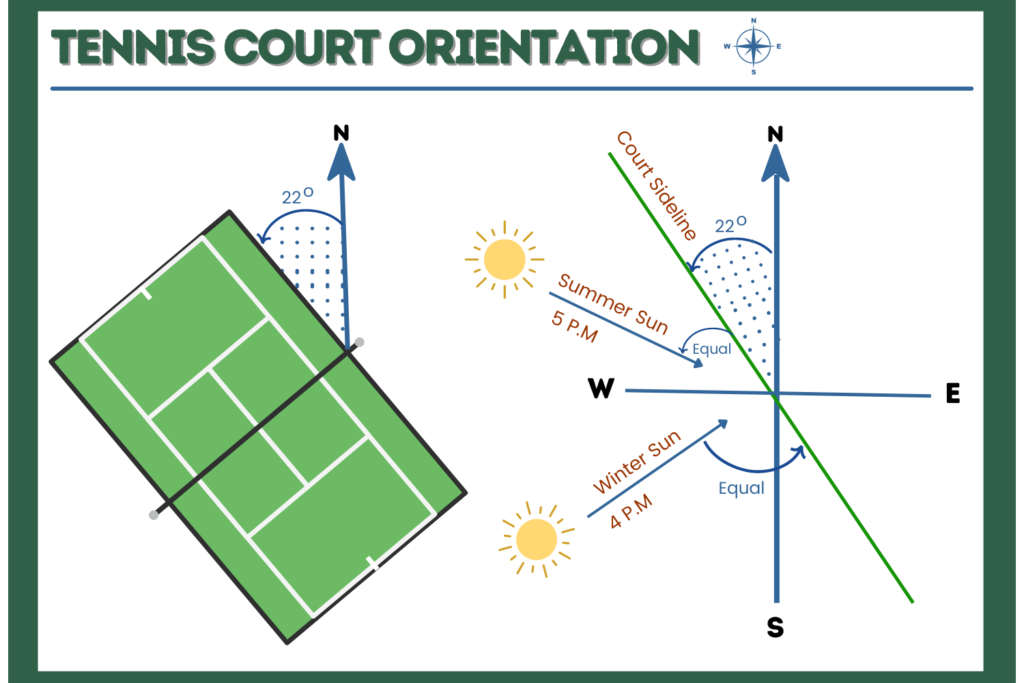
- Orientation: Depending on your geographic location, you should orient the court in such a way as to take full advantage of sunlight. North-south orientation is what experts recommend for the best sun angles during the morning and afternoon, but this decision is up to you.
- Sloping and drainage – the last thing you want on a tennis court is water drainage to ruin everything. That’s why the soil should be well-leveled, and install an underground drainage system if needed.
If all is good, the next step is choosing the type of tennis court you want so that you can pick up the materials.
- Asphalt court: This type of court requires a very knowledgeable team to install and a bigger budget compared to others. This isn’t something you can make yourself because it can get messy very quickly, and you might even end up hurting yourself. Also, it requires a lot of expensive equipment, which you won’t be able to use unless you are a professional. However, these are the easiest to maintain and very durable. Only in extreme weather conditions will the asphalt create cracks, which will be expensive to fix.
- Concrete court: You can do the job on your own if you want to by putting in intensive hours of work and saving some money on the process. I warn you, though, it requires a lot of hard labor, and unless you are very experienced, you won’t do as good of a job as a professional. Concrete courts don’t require much equipment to do the installation and have low maintenance fees. It will create cracks in extreme weather or conditions, but the reparation cost will be relatively low.
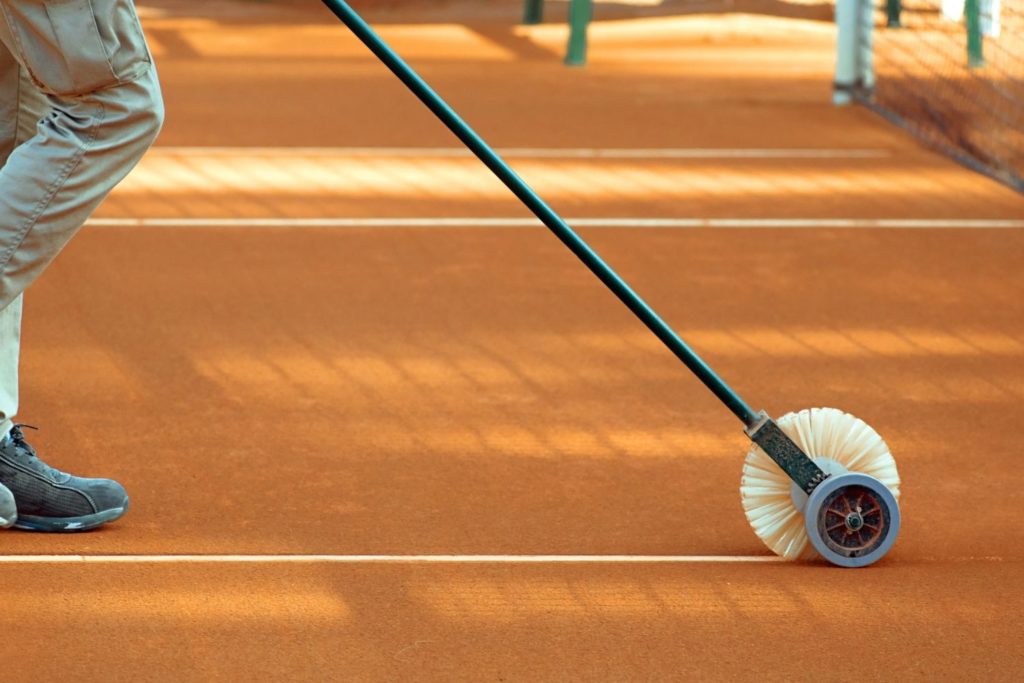
- Clay court: Requires a relatively short installation time if you ask for professional help, which will cost less than other options. However, clay courts require a lot of maintenance work, such as daily watering or brushing, to keep them in prime condition.
- Grass court: Most backyard tennis courts are made of grass because the material is already there, which also dramatically cuts down the costs. However, maintaining a grass court requires a lot of daily work and money because it will need constant watering, mowing, and leveling up the ground.
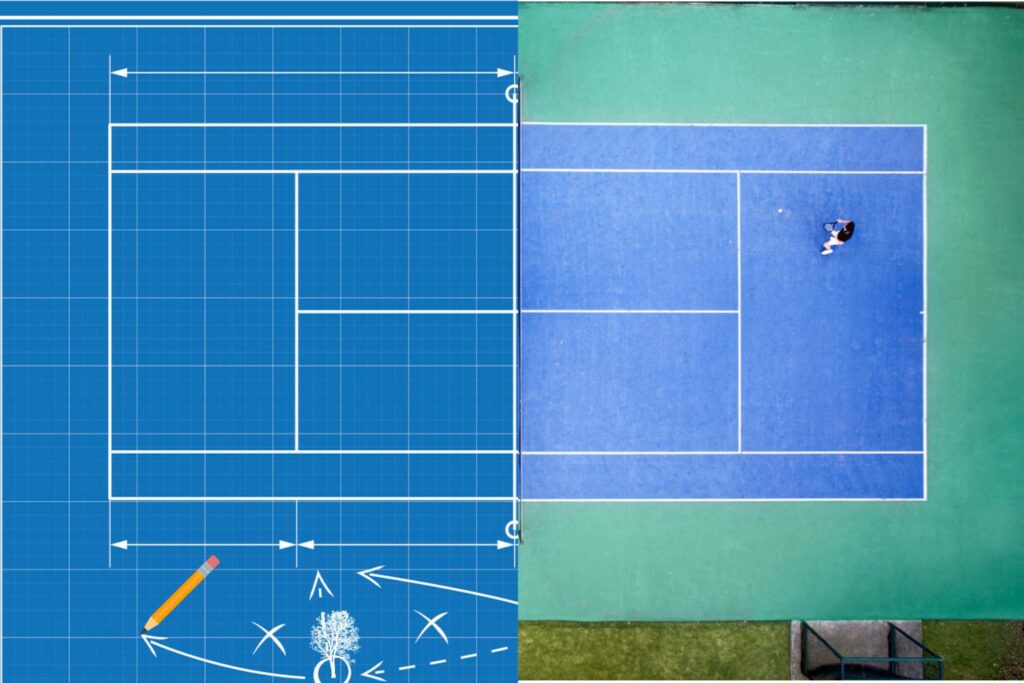
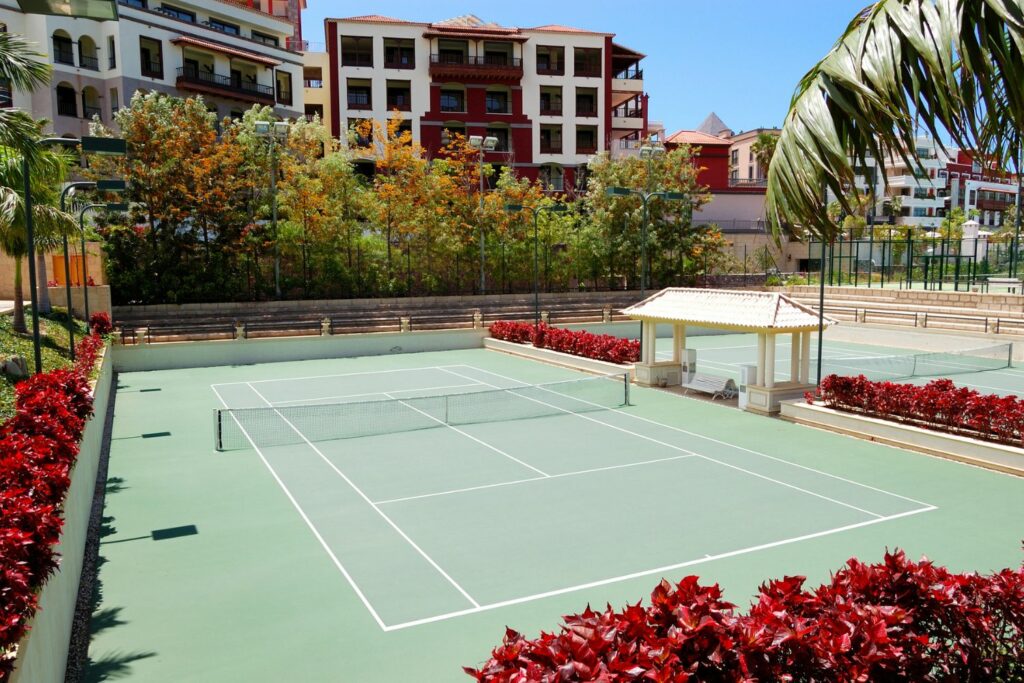
Court Size
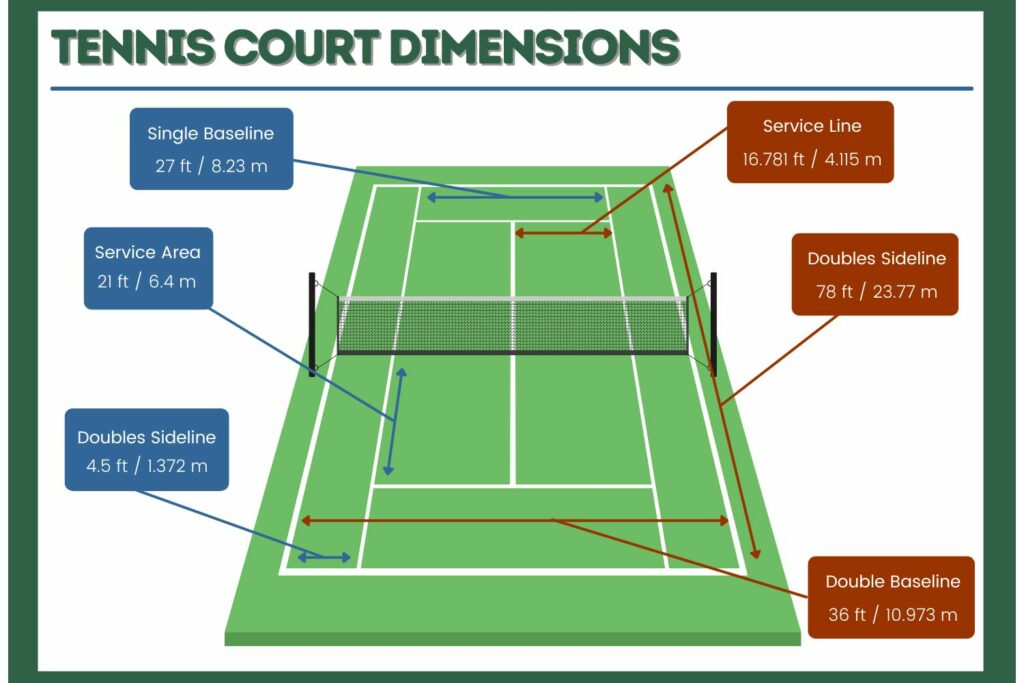
You need to measure the space you have and make an evaluation of the court’s dimensions. The standard size of a tennis court is 78 feet wide and 36 feet long, without including here the out-of-bounds space. However, it’s not mandatory to follow the standard; you can adjust the project and make it work with the land you already have. Mark up the lines, and make sure to be precise about your court’s size before starting to spend money, time, and energy on building it.
Consult the Pros
After going through all these steps, it’s important to consult professionals to bring to life your vision. Even if it’s just to rent some of the equipment, you need someone more knowledgeable and experienced to help you out.
Depending on the court type you choose, sometimes it is better only to trust the professionals to handle to work in order to avoid any incident. Regardless of your choice, you can still be actively included in the project, even if you rely totally on hired pros.
Building Tools Checklist
After you have made up your mind on what type of tennis court you want, the size, and the materials, it’s time to get on with everything you need to do the work. For the tennis court installation, you will need various equipment and building tools, as listed below;
- Truck to bring in the materials, equipment, and other necessary stuff.
- Small tractor to level up the ground.
- Drum cart. It’s easier and more convenient to carry the materials around the working space.
- Mixing equipment to mix materials used when working with hard courts.
- Steam roller to flatten out the surface if needed.
- Blower. Prior to the surface, it’s necessary to remove debris.
- Edging tool to remove vegetation before surfacing the court.
- Line tapping machine to make the lines around the court after surfacing it.
- Scrappers to scrap the court after each layer is set in.
- Sport application squeegee is needed to apply the court’s materials.
- Paging straight edges to level up the surface.
- Tarp to mix materials on the spot.
- Empty drums to mix materials, keep cleaning tools, or collect wastewater.
- Roofing paper to collect or remove the extra materials.
- Masking tape to mark the court’s corners and avoid repainting the lines.
- Chalk lines to lay out the lines.
- Chalk stones for marking on the court.
- Shovels to collect extra surfacing materials
- Tape measurements you’ll need two of the same model, made of steel.
How to Build a Tennis Court
Now that you have a clear vision, a detailed plan, and all the building tools, it’s time to bring the dream to life. Regardless of the surface type, the steps for building a tennis court are all the same. So here is what you should do;
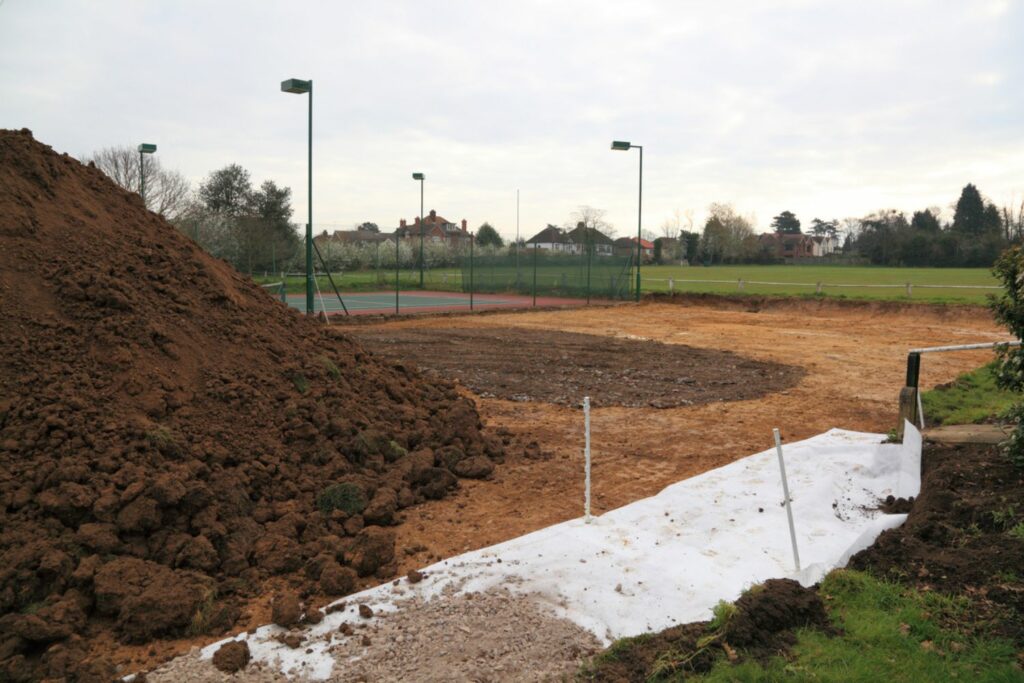
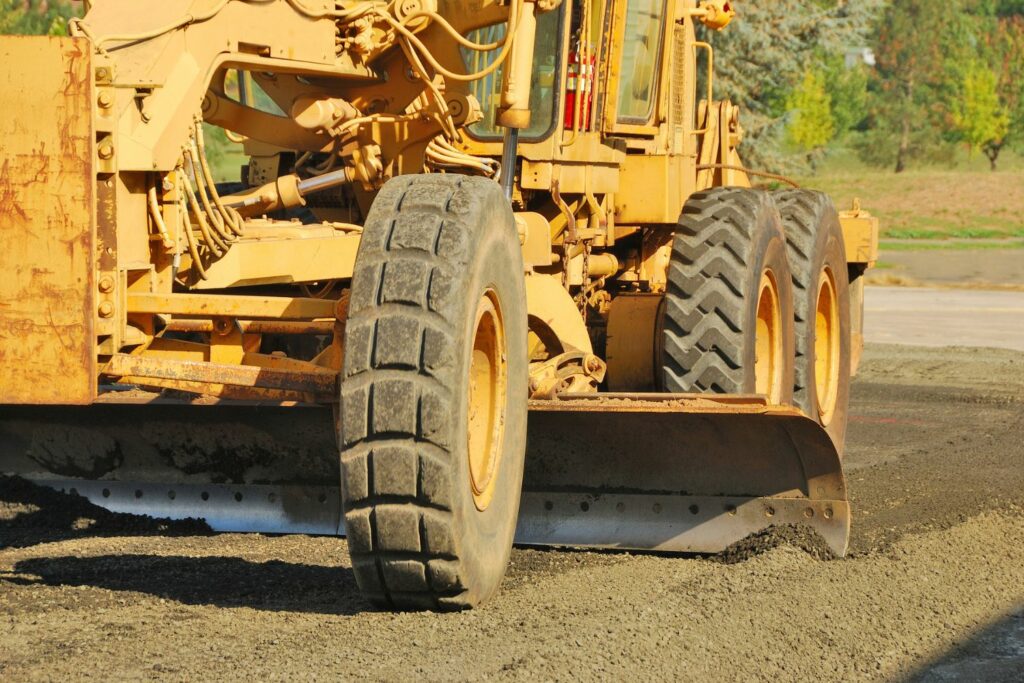
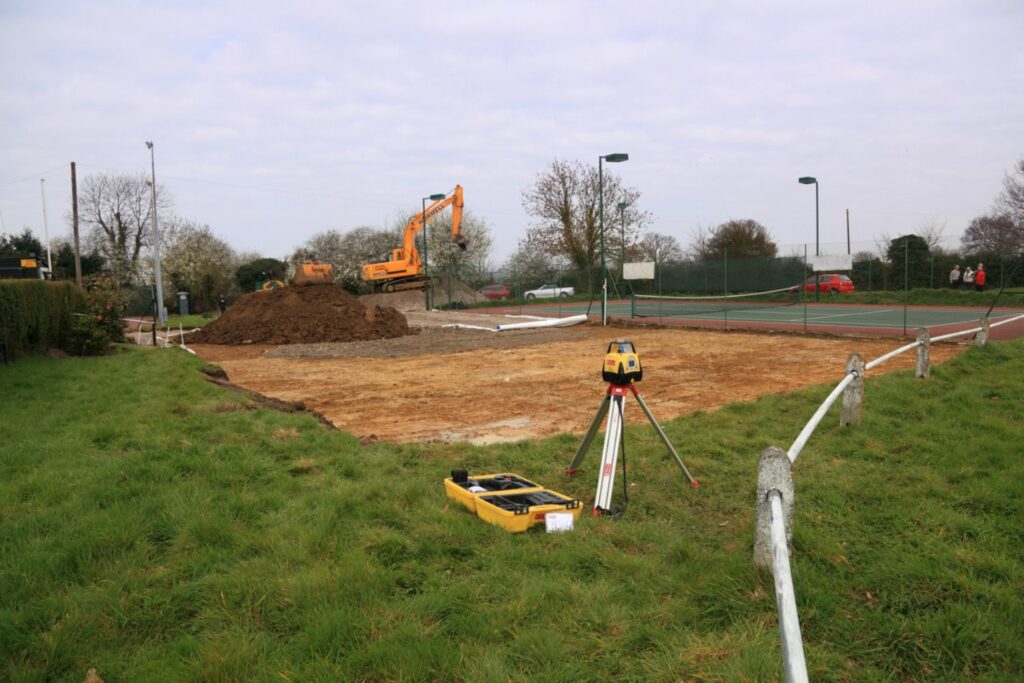
Step 1: Prepare the area.
This is the first and most crucial step because you are literally laying down the foundation of your tennis home court. You don’t want to do a lousy job, neglect or overlook important details, and then have problems so big that you have to redo the whole project and waste money.
For this step, you’ll most likely need a small tractor to level up the ground and remove the topsoil, also a track to get rid of waste and debris. The leveling of the court doesn’t have to be well-balanced; its center should have a slightly higher point and then slope down towards the edges. This is necessary to avoid water pooling in and damaging the surface.
Unless you are very experienced, you want to hire a professional to do this step.
Step 2: Framing, foundation, and re-surfacing.
When you are done with leveling up and grading the court surface, it’s time to mark the edges and set the foundation. To make sure that it will be long-lasting, the foundation should be 60 inches thick, at least.
Only after setting in the foundation can you pour in the surface. You can do this step on your own, and with a little dedication and hard work, you’ll have a pretty good result. However, for a perfectly smoothed-out result is better if you just ask for the help of professionals.
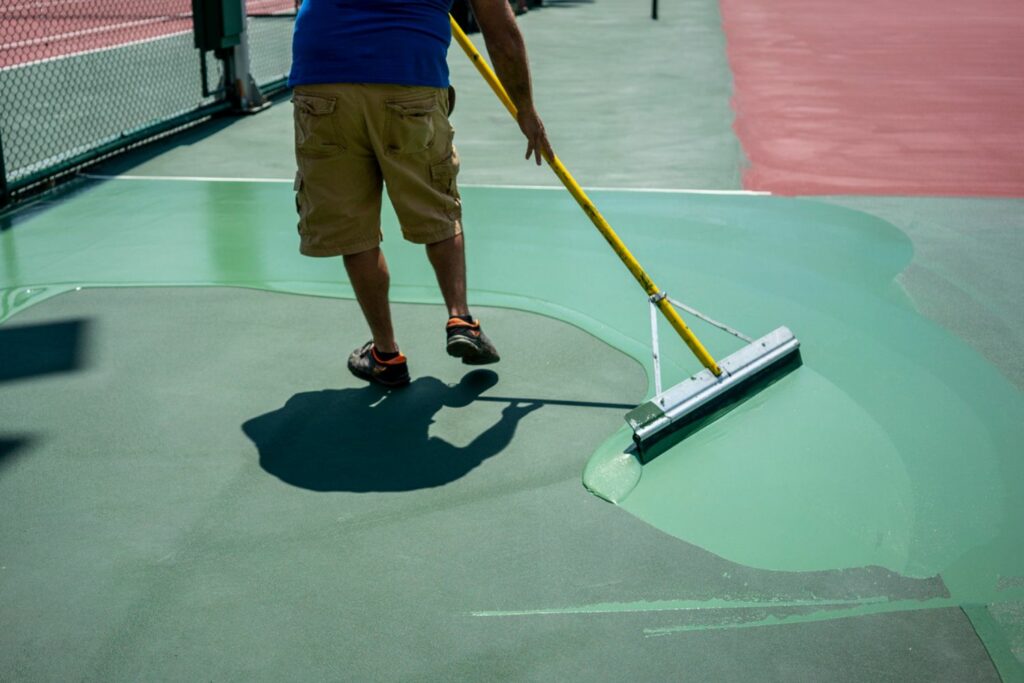
Step 3: Choose the color scheme.
Picking up your court’s color scheme is totally a personal choice based on your own style and vision. There are no written rules, and you can pick anything to stand out instead of going with a traditional green. However, I do have some advice for you before making up your mind.
- Go for a dark court to improve visibility because darker colors reduce sun glare and make a good contrast between the court’s yellow and white.
- Go for the two-tone color scheme. It is easy, more convenient, and has better visibility, even for those who suffer from damaged vision.
- Lighter color courts are better to play during the game because the lines reduce less light and hold on to less heat.
Step 4: Draw out the lines.
After picking up the color scheme, it is time for the line painting. This is a relatively easy job; first, you need to do the measurement and overlay the court lines. You can use a type lining machine or try to keep the lines straight.
Depending on the court’s area, the measurements of the lines should be as follows.
- The lines of the double alley: 39 feet by 4.5 feet
- The lines of the double sidelines:78 feet long.
- Ad courts and deuce box: 21 feet by 13.5 feet
- “No man’s land” court’s area:18 feet by 27 feet.
Step 5: Install the accessories.
You are almost done; now it’s time to install the accessories. Start out with the court’s net by installing the outsides post and the pipe anchor, and then connect the net to give a finishing look to your home court. The height of a tennis net should be 42 inches at the posts and 36 inches tall n the middle.
Other important accessories you’ll need are windscreens, fencing, scorekeeper units, replacement parts, shade or wind shelter, lights, benches, etc. All of this might at a considerable amount of extra fees to your budget, so you better make have a good setup plan for spending.
How Much Does it Cost to Build a Tennis Court
Having a home tennis court is considered a luxury for a reason; not only do you need the proper space, but also a lot of money. The cost of a tennis court is anywhere from as little as $25.000 up to $150.000, including value and all materials. Depending on several factors listed below, the price may change.
- Materials based on the court’s surface. Different materials have higher prices and maintenance fees than others.
- Design. Hiring a landscape architect can make this project much more fun and practical. It also adds value to your property.
- Construction and project management includes design, installation, and construction costs. Doing the whole process entirely yourself it’s a way to cut expenses, but the job will be lacking, and the court might not end up as you wanted.
- Supplier. High-quality materials from trustworthy suppliers are a guarantee that the court will last for a few years at least. You are spending a lot of money already; make sure you won’t have to spend more to replace damaged goods constantly.
- Labor cost. Professional fees depend on where you live, but also the number of jobs they’ll have to do, the equipment, or the time they’ll spend on the site.
- Paint cost. Not necessarily cheap, especially if you rent a tape lining machine, to make the painting look professional. However, you’ll be satisfied with the end result.
- Tennis accessories. From tennis rackets, balls, nets, benches, or lighting; all of these will add more cost to your budget.
- Other upgrades. It’s up to you if you want to add other upgrades. Nighttime lights, water fountains, or scorekeepers are cool features to have, but paying the bills won’t be so much fun.
The price you’ll spend depends entirely on you, but just make sure that you know every spending, so you won’t break the bank while building in your backyard a tennis court.
Wrapping Up
Building a home tennis court might be an adventure on its own and requires a lot of planning. I know all of these steps look complicated and like a lot of work, but the fact that you are already here on this site, digging for information is a step forward to putting your plan into action.
Having a tennis court in the comfort of your own home is a great way to exercise continuously and hit the court for daily practices. It will be fun for your family and friends too, and will be a great way to spend quality time with them.
Whether you are Rafael Nadal or a recreational player that plays occasionally, this is for sure; a backyard tennis court will skyrocket the value of your property. This is not something expected, so if you ever decide to sell your home, it’s guaranteed that a tennis court will increase its worth. Hopefully, this guide has provided all the information you need to carry on with your dream project.
FAQs
Although you now know more about building a tennis court, you might still be looking for more information on the building and installation process. Here are answers to some of the most frequently asked questions regarding how to build a tennis court.
Q: How deep should the base layer be for a tennis court?
The depth of the base layer for a tennis court should be at least 6 inches, but it is often recommended to go with a deeper base layer, especially if the ground is soft or unstable. A deep base layer will provide greater stability and prevent settling, which can cause damage to the surface of the court.
Q: Can you DIY a tennis court?
It is possible to DIY a tennis court, but it can be a difficult and time-consuming process. You will need to measure the dimensions of the court and mark the lines on the ground. You will also need to mix and lay down the concrete foundation and then lay down the asphalt or concrete surface.
If you are not comfortable doing this yourself, you can hire a contractor to do it for you. It will likely be more expensive to have someone else build your tennis court, but it will be less labor-intensive and may be finished in a shorter amount of time.
Q: What is the cheapest tennis court surface?
The cheapest tennis court surface is asphalt. Asphalt is durable, weather-resistant, and relatively affordable. It’s also relatively easy to install and repair. However, it can be difficult to play on when wet, and it can be quite hot in the sun.
Q: What type of concrete is used for tennis courts?
Concrete tennis courts are built with a surface that is resistant to abrasion and provides good traction. The main ingredient in the concrete is Portland cement, which is a type of hydraulic cement that causes the concrete to set and harden after mixing with water.
Other ingredients that are often added to the concrete mix include sand, aggregate ( gravel or crushed stone), fly ash, and calcium chloride. The mix proportions vary depending on the geographical location and weather conditions, but typically the concrete will have a compressive strength of between 2500 psi and 4000 psi.
Q: How long does it usually take to build a tennis court?
It usually takes four to six weeks to build a tennis court, but the time frame can vary depending on the size and complexity of the court. For example, a smaller court with less specialized features might take as little as two or three weeks, while a larger, more complex court could take up to eight or nine weeks.